Sometimes we need to attach an OST (Offline Storage Table) file to a new profile. This post will illuminate your knowledge of how to attach an OLD OST File to a New Outlook Profile. This guide will also shed light on a relatively less complex method of using an OST to PST converter tool that can extract orphaned OST files to PST with perfection and precision.
Introduction:
An OST (Offline Storage Table) file is crucial for Outlook’s smooth functioning. Also known by the name of an offline folder file, the OST file is basically a cached copy of an Exchange server data. These files also ensure access to mailbox data offline, i.e., they allow you to access your inbox even without an active internet connection.
Since OST files are associated with some specific Outlook profile, once they are created, they can’t be directly opened but rather recreated if required. There are circumstances when OST files become orphaned owing to factors like system updates or migrations to a different email client. In such a scenario, we need to attach an.ost file to a different profile by converting OST files to PST.
No matter if you are an IT expert or only an Outlook user, stay tuned to this post to explore how to attach an OST file to a new profile. Additionally, this post will also unearth an alternate method of OST converting using the OST to PST converter software.
Is Attaching OST File to a New Profile Possible?
Before heading forward to answer this question, let’s clear up the haze from OST (Offline Storage Table) files. Outlook uses two file formats for managing and storing data. The first one is OST (Offline Storage Table), while the other format is called PST (Personal Storage Table). OST files store a copy of your mailbox data and provide access to mailbox content even without internet connectivity. On the other hand, PST files store mailbox data like mails, calendar items, contacts, etc. locally when configured to POP3 or IMAP accounts. Both of these files are crucial for seamless Outlook functioning, and any issue with these files can disturb the performance of Outlook.
The important role that these OST files play is to ensure access to mailbox content even without internet connectivity. Also, these OST files are encrypted with a MAPIEntryID GUID key, meaning you can access these files from the same profile on which these files are created.
Now the question arises:-
Why do you want to import an OST to the new Outlook profile?
It depends on various conditions. You need to convert an old OST file in case you can’t access your emails in Outlook or receive errors. Another condition when you seek this is when an OST file becomes orphaned or inaccessible.
If you try to access these files from a different profile, you can’t be successful. In that case either you have to import OST file into new profile or you can import your PST file. You can import them manually following the prescribed procedure. You can also use experts-recommended to convert OST to PST by using tool like Stellar Converter for OST to access all your mailbox items.
How to Attach an OST File to a New Profile?
This portion of the post aims to enhance your knowledge on the process of attaching an OST file to a new profile. Follow the below mentioned steps:
Step 1: Configure First Outlook as my Default Email Client:
First of all, configure our old mailbox on the first Outlook client by opening Office Outlook > File> Option> General> click to check ‘Make Outlook default program for Email, Contacts and Calendar. Follow the below steps:
- Hit Windows key and type Default Program in the Search Dialogue Box and then press Enter
- Choose “Set your default programs”
- Hit on “Office Outlook”
- Then hit on “Set this program as default” and press OK
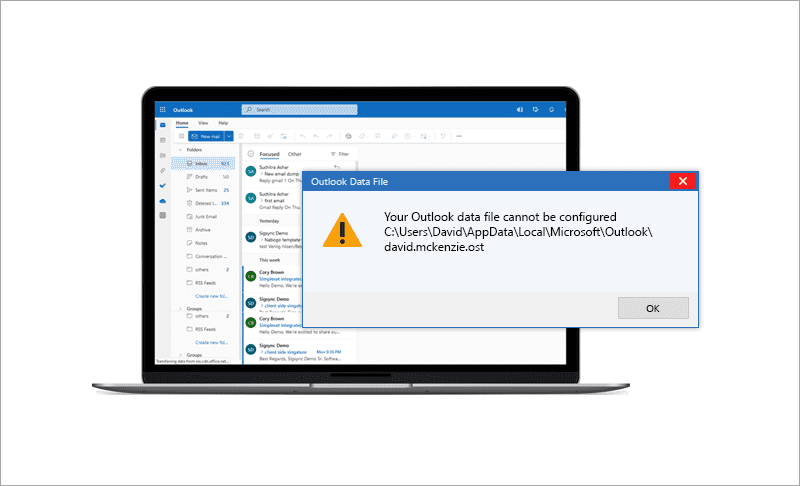
After this, follow the golden rule of taking the backup of OST files to ensure the availability of crucial data in case of any incidental loss. The next task is to locate the location of OST files. Although the location of OST files depends on Windows and Outlook versions, its default location is C:/Users/Your_Username/AppData/Local/Microsoft/Outlook.
Step 2: Create a New Outlook Profile and Configure the New Mailbox:
So, your system is ready for the process. The next task is to create a fresh Outlook profile where OST files will be attached. To create the profile, follow the below steps:
- Exit Outlook
- Explore the Control Panel
- Go to User Accounts > Mail (32-bit).
- Hit on Show Profiles, under Mail Set Up-Outlook Window
- Select Add and give name for your new profile, then press OK
- An email configuration window will come. Select Cancel and then hit OK to create a profile with no email account. You can attach the OST file to this blank profile.
- After this, hover the cursor to the Mail Setup window. Remove the old profile by selecting the old profile and pressing Remove.
- Press Yes when the MS Outlook’s dialogue box asks to continue.
- Once the old profile is removed, the associated OST file is also removed.
Step 3: Attach an OST File to a New Profile:
We have already discussed in the previous section that OST files are generated with the creation of a new IMAP, Exchange, Microsoft 365, or Outlook.com account. In addition to this, we have also learned that OST files are encrypted and can’t be accessed in other Outlook profile. But by creating a different account with the same email id, we can recreate the OST file. After recreating, we can attach the OST file to a new Outlook account to access mailbox content of the old profile. Follow the below steps for the same:
- Explore Outlook application.
- A prompt will appear and ask for credentials to sign in.
- Enter your credentials and log in to your new profile account. MS Outlook will create a new OST file and download all mail items that were in accessible and were the part the old OST file. With this the old OST file is attached to the new Outlook profile.
- Once the process if new profile creation and old OST file attachment is over, Outlook will synchronize and download all mail items to your OST file.
Step 4: Mailbox Content Verification:
After attaching an OST file to a new profile, it is the time to inspect and validate if all mailbox content available in the file were successfully downloaded or not. Follow the below steps to verify the same:
- Explore Outlook application and switch to the new profile
- Verify all your mailbox content, ranging from email messages and events to contacts and calendars; are present in the new profile
- If everything is matching your expectation level and nothing is lost then it means you have successfully attached an OST file to a new profile
What should I do if the Manual Method doesn’t work?
There is a possibility that even after trying the above-mentioned process. There can be many technical reasons for this, like an internet connectivity issue, an oversized Outlook data file, network issues, or sync issues. In such a scenario, if you are not able to attach old OST to new profile then you can use any OST to PST converter tool software to convert our old OST file to the PST file. Later, we will import this converted PST file to the new Outlook profile to view mailbox content. Stellar Converter for OST is one of the widely recommended OST converters that can work efficiently when it comes to converting accessible Outlook OST files. It is highly recommended by IT administrators and MVPs to help transfer or migrate mailbox data to a different Outlook profile on a new or the same computer. The ‘Toolkit’ version of Stellar Converter for OST is loaded with advanced features using which you can not only recover mailbox content but also restore deleted emails. Its ‘Technician’ version can export OST file data directly to Exchange Server or Office 365 (Microsoft 365) in a few clicks.
Conclusion:
In the above blog post, we have learned that the attaching OST file to a new Outlook profile is a bit challenging process. There are multiple reasons when we required to attach an OST file to a new profile like migrating to a new Outlook version or system update. We have discussed a manual method for the same. But sometimes, it has been observed by the users that the attachment process has missed some content of the OST file. In case of missing content, we can rely on any OST to PST converter. Stellar Converter for OST is one of the best tools recommended for convert orphaned or inaccessible OST. This software is available in 3 versions-Corporate, Technician and Toolkit, to suit your need. Each version is loaded with many advanced features to ensure seamless attachment of an OST file to a new profile.