Introduction
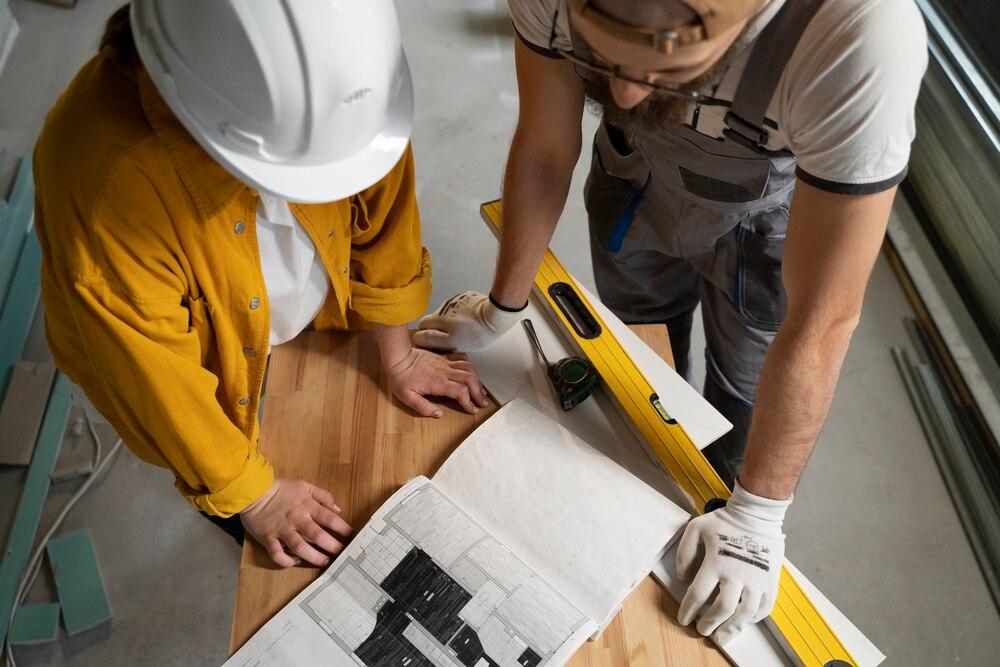
Maintaining your vehicle’s suspension system is crucial for both safety and performance. A ball joint press is an indispensable tool for anyone who works on their vehicle, whether you’re an experienced mechanic or a DIY enthusiast. Ball joints connect the control arms to the steering knuckles, allowing for smooth movement of the suspension. Over time, these joints wear out and need replacing to maintain vehicle stability and handling. This guide will take you through the entire process, ensuring you can replace a ball joint efficiently and safely.
Tools and Materials Needed
Before beginning the job, gather the necessary tools and materials. Having everything on hand will make the process smoother and help you avoid unnecessary delays.
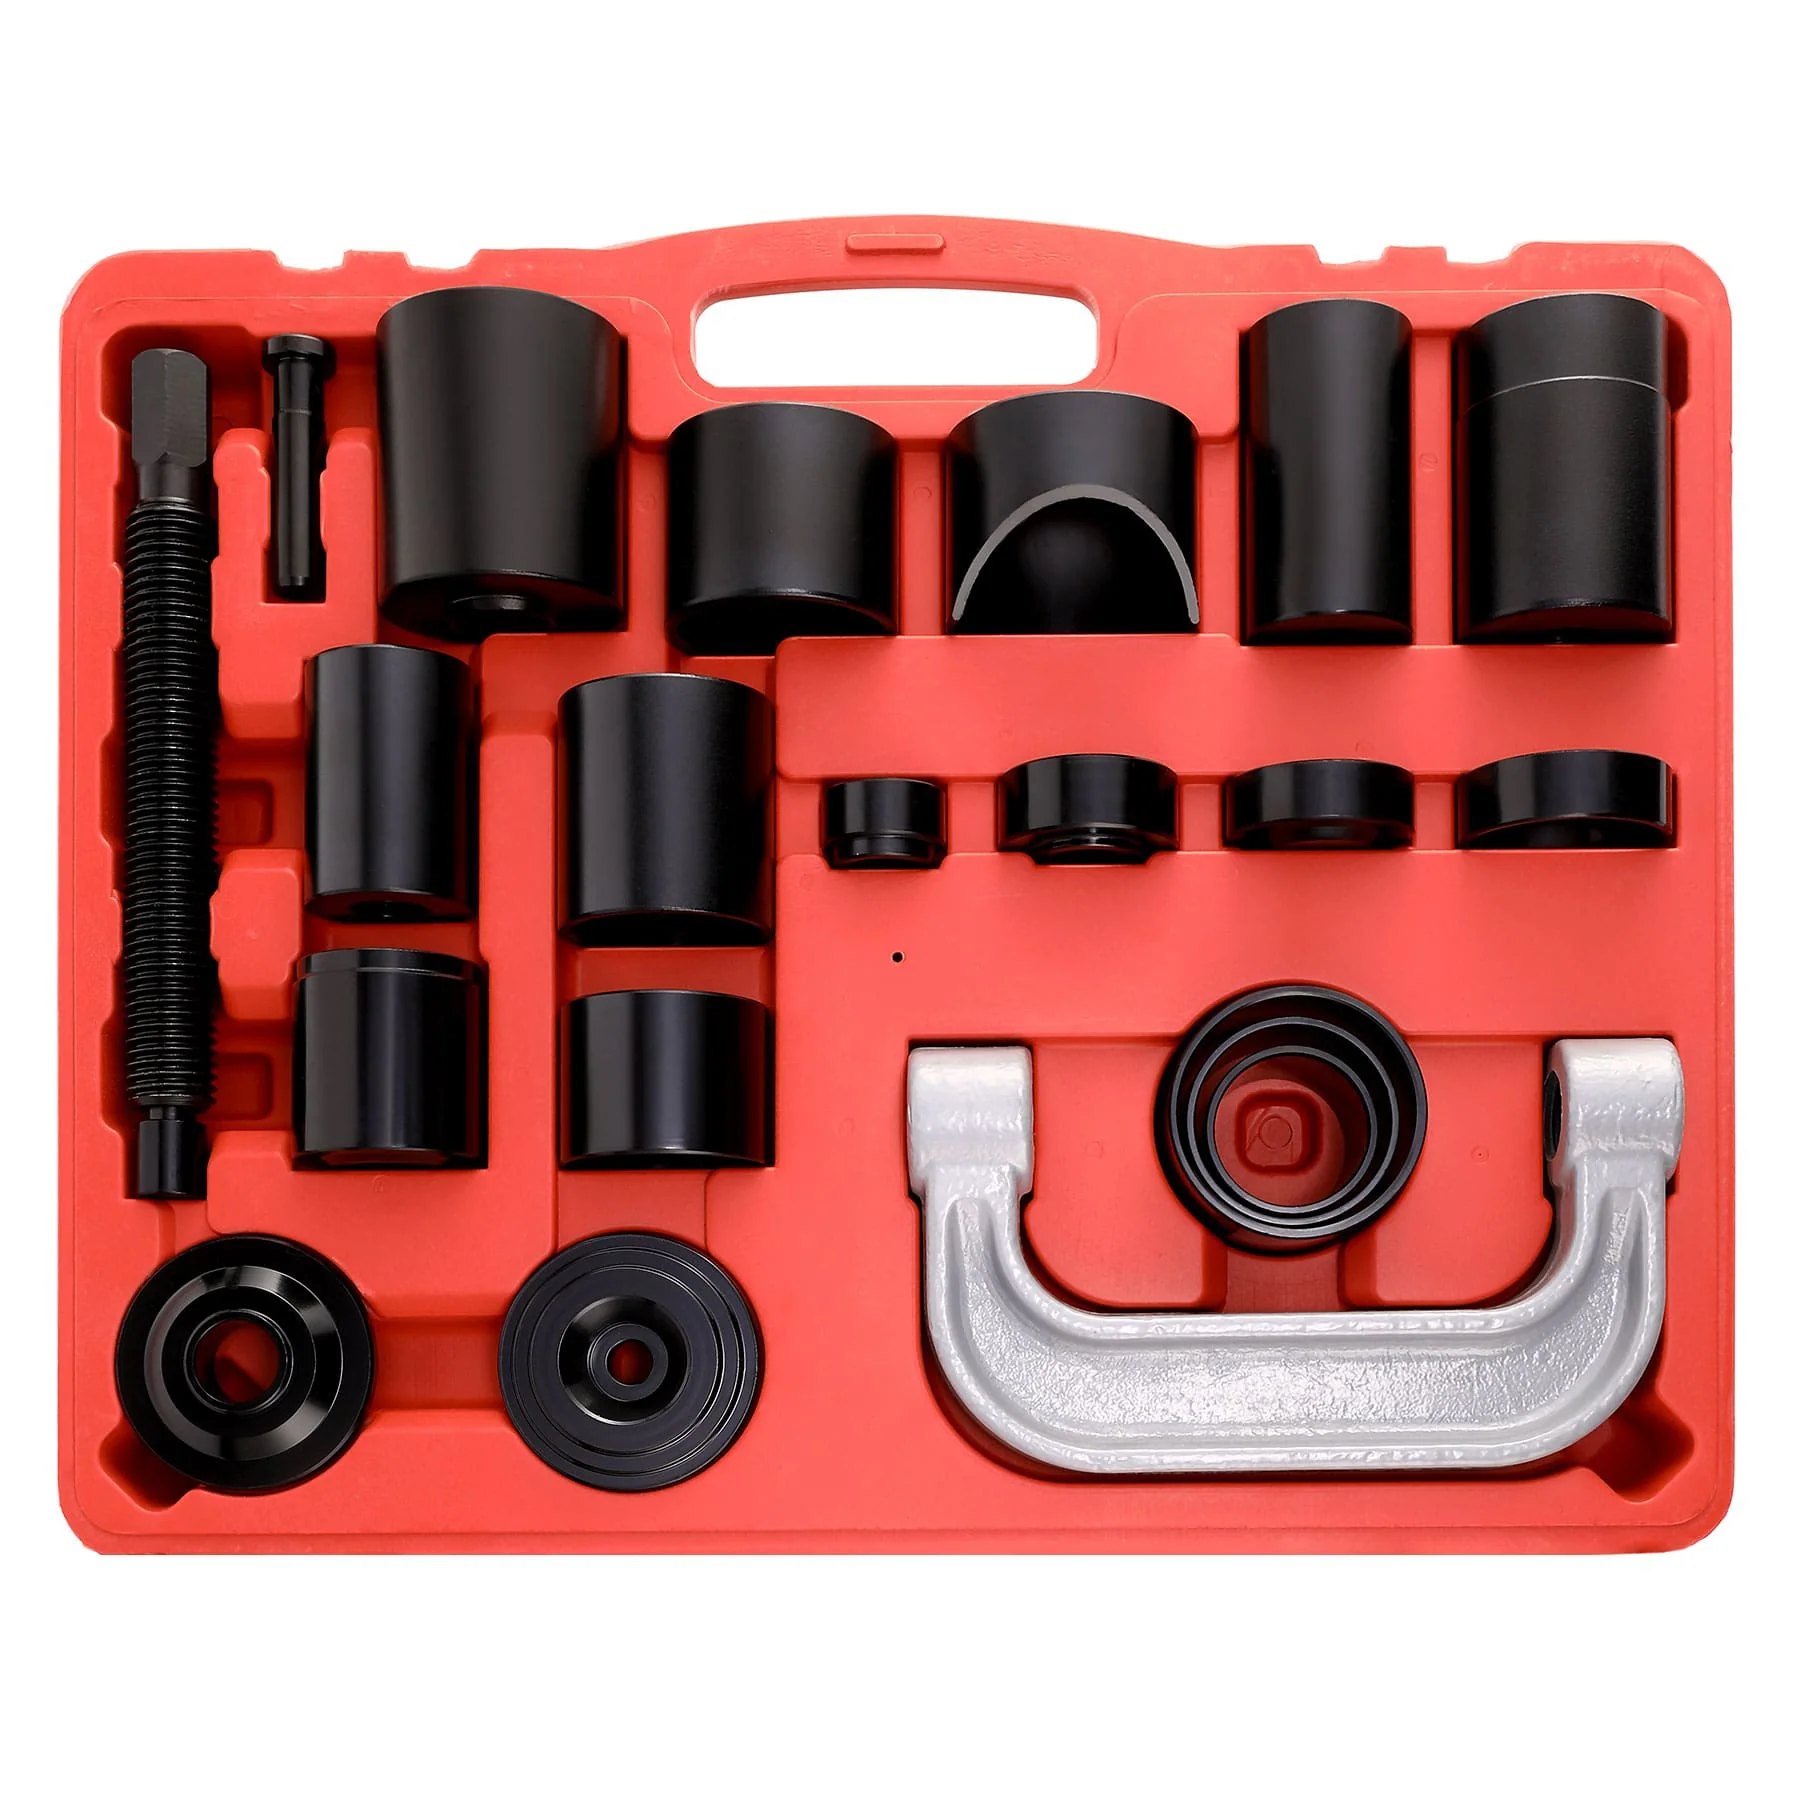
- Ball Joint Press: The primary tool for the job, used to remove and install ball joints.
- Socket Set: Various sizes to remove bolts and nuts.
- Wrench Set: For loosening and tightening bolts.
- Hammer: Sometimes needed to loosen stuck components.
- Jack and Jack Stands: For lifting and securing the vehicle.
- Wheel Chocks: To prevent the vehicle from moving while it’s lifted.
- Penetrating Oil: Helps loosen rusted or stuck parts.
- New Ball Joint: The replacement part for your vehicle.
- Grease: To lubricate the new joint and ensure smooth operation.
Safety Precautions
Safety is paramount when working on any vehicle. Improper handling of tools or the vehicle can lead to serious injury. Follow these precautions to ensure a safe working environment:
- Wear Protective Gear: Safety glasses, gloves, and steel-toe boots are essential.
- Work on a Flat Surface: Ensure your vehicle is parked on a level surface to prevent it from rolling or tipping.
- Use Jack Stands: Never rely solely on a jack to hold up the vehicle. Always use jack stands to support the weight.
- Disconnect the Battery: To avoid any electrical accidents, disconnect the vehicle’s battery before starting work.
- Ventilation: If working in a garage, ensure proper ventilation to avoid inhaling exhaust fumes.
Step 1: Prepare the Vehicle
Proper preparation is key to a successful repair. Start by lifting and securing the vehicle.
- Lift the Vehicle: Use a hydraulic jack to lift the vehicle at the manufacturer-recommended jacking points.
- Secure with Jack Stands: Place jack stands under the vehicle’s frame to securely hold it in place.
- Chock the Wheels: Place wheel chocks behind the rear wheels if you’re working on the front suspension, or behind the front wheels if working on the rear suspension.
- Remove the Wheel: Use a lug wrench to remove the lug nuts, then carefully take off the wheel to expose the suspension components.
Step 2: Inspect the Ball Joint
Before proceeding with removal, inspect the ball joint to assess the extent of wear and damage.
- Visual Inspection: Look for signs of damage, such as torn rubber boots, excessive play, or visible wear.
- Manual Check: Try to move the joint by hand; any significant movement could indicate a worn joint.
- Additional Signs: Uneven tire wear, clunking noises, or poor steering response are often signs of a failing ball joint.
Step 3: Set Up the Ball Joint Press
Proper setup of the ball joint press is crucial for the successful removal and installation of the joint.
- Position the Press: Assemble the ball joint press according to the manufacturer’s instructions. Position it over the ball joint, ensuring the press is aligned correctly with the joint.
- Double-Check Alignment: Misalignment can damage the control arm or the press. Ensure everything is set up straight before applying pressure.
Step 4: Remove the Old Ball Joint
Removing the old ball joint requires patience and precision.
- Apply Penetrating Oil: Spray penetrating oil on the ball joint to help loosen any rust or debris that may make removal difficult.
- Press Out the Joint: Slowly and steadily turn the screw on the ball joint press, applying pressure to press out the old joint. Take your time to avoid damaging surrounding components.
- Check for Obstructions: If the joint isn’t budging, inspect the setup to ensure nothing is blocking the press’s operation. Adjust as needed and try again.
Step 5: Install the New Ball Joint
With the old joint removed, it’s time to install the new one. This step is just as critical as removal, if not more so.
- Position the New Joint: Place the new ball joint in the control arm. Ensure it is aligned correctly before beginning the pressing process.
- Use the Press: Carefully use the ball joint press to insert the new joint into the control arm. As with removal, apply pressure slowly and steadily.
- Lubricate: Apply grease to the new ball joint to ensure smooth movement and prevent premature wear.
Step 6: Reassemble the Vehicle
Once the new ball joint is securely in place, it’s time to put everything back together.
- Reattach the Control Arm: If you removed the control arm to access the ball joint, reinstall it and torque all bolts to the manufacturer’s specifications.
- Reinstall the Wheel: Place the wheel back onto the hub, hand-tighten the lug nuts, then lower the vehicle slightly so the tire just touches the ground, and finish tightening the lug nuts in a star pattern.
- Lower the Vehicle: Once the wheel is securely in place, remove the jack stands and lower the vehicle to the ground.
- Final Checks: Check all components for proper installation. Make sure all bolts and nuts are securely tightened, and the wheel is firmly attached.
Conclusion
Replacing a ball joint is a challenging but rewarding task that can save you money and improve your vehicle’s performance. By following these detailed steps, you can ensure the job is done correctly, maintaining the safety and handling of your vehicle. Regular maintenance and inspections of your suspension components are vital to avoid unexpected breakdowns and costly repairs. Remember, when in doubt, don’t hesitate to consult with a professional mechanic.